Hello fellow crafters! Get ready to fall head over heels for our latest project: the Cute Granny Square Pumpkins! These aren’t just any pumpkins; imagine adorable, textured little gourds crafted from cheerful granny squares, complete with a charming stem. They’re the perfect cozy addition to your autumn decor, bringing a handmade touch of warmth to any shelf, mantelpiece, or coffee table.
Whether you’re a crochet beginner looking to master the beloved granny square or a seasoned stitcher searching for a delightful seasonal project, these pumpkins are for you! They make for absolutely precious gifts, too – imagine gifting a set of these to friends and family. In this pattern, we’ll guide you step-by-step, from creating those classic granny squares to assembling your perfectly plump pumpkins. Let’s get stitching and fill your home with irresistible, crocheted fall charm!
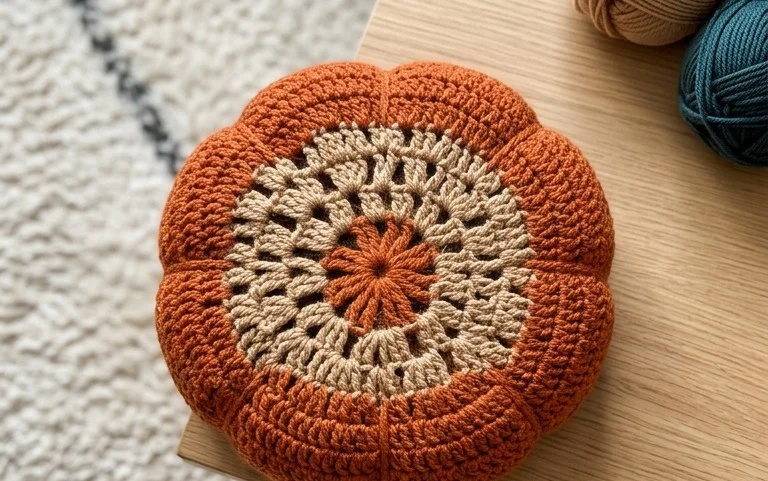
Cute Granny Square Pumpkins: An Irresistibly Classic Fall Crochet Pattern
As the leaves begin their vibrant dance and a crispness fills the air, our thoughts naturally turn to the cozy comforts of autumn. And what could be more quintessential fall than pumpkins? This year, we’re embracing the season with a delightful crochet project: the Cute Granny Square Pumpkins. This pattern takes the beloved, timeless granny square and transforms it into adorable, plump pumpkins, perfect for adding a touch of handmade charm to your home decor. Whether you’re a seasoned crocheter or just dipping your toes into the yarn world, this pattern is designed to be enjoyable and rewarding.
Yarn & Hook Recommendations: Building Your Pumpkin Patch
The beauty of this crochet pattern lies in its versatility, and that starts with your yarn choices. For these pumpkins, we’re aiming for a slightly fuzzy or matte texture that mimics the natural feel of a pumpkin.
Stitch Techniques Used: The Building Blocks of Your Pumpkin
This pattern primarily utilizes stitches that are fundamental to the granny square, making it accessible for those familiar with this classic motif.
Tips for Beginners: Crafting Confidence
Even if you’re new to crochet, you can absolutely create these adorable pumpkins! Here are some tips to help you along the way:
How to Customize: Making Your Pumpkins Uniquely Yours
The beauty of this pattern is how easily it can be personalized. Let your creativity bloom!
Color Play: Beyond the Orange
While traditional orange is classic, don’t be afraid to experiment! Try autumnal shades like deep reds, golden yellows, or even a dusky purple. You can also create ombre effects by starting with a lighter shade of orange and gradually working in darker shades as you crochet. For a whimsical touch, consider stripes of contrasting colors within your granny square rounds. And of course, don’t forget the stem – a lovely brown, a muted green, or even a deep burgundy can add a unique flair.
Size Matters: From Mini to Majestic
The size of your pumpkin is determined by the number of rounds you crochet for your granny square. To make smaller pumpkins, simply stop crocheting after fewer rounds. For larger pumpkins, continue adding rounds until you reach your desired size. Remember that as you add rounds, the circumference of your square will increase, and it will naturally start to cup inward, forming the pumpkin shape.
Embellishments and Details
Once your pumpkin is crocheted and stuffed, consider adding some extra touches. You can use embroidery floss to create the classic ribbed texture of a pumpkin by stitching up and down the sides. A small leaf crocheted separately and attached to the stem can add an extra touch of realism. For a touch of sparkle, consider adding a few beads to the stem!
Care Instructions: Keeping Your Pumpkins Pristine
These crochet pumpkins are designed to be enjoyed year after year. Proper care will ensure they remain a cherished part of your fall decor.
Project Ideas: More Than Just a Pumpkin
These cute granny square pumpkins are incredibly versatile and can be used in a multitude of ways to bring autumn charm to your surroundings.
The Cute Granny Square Pumpkin pattern is more than just a crochet project; it’s an invitation to embrace the cozy, creative spirit of autumn. With its simple stitches, customizable nature, and irresistibly classic charm, these pumpkins are sure to become a cherished part of your fall traditions for years to come. So grab your hook, select your favorite autumnal hues, and get ready to crochet your way into the heart of fall!
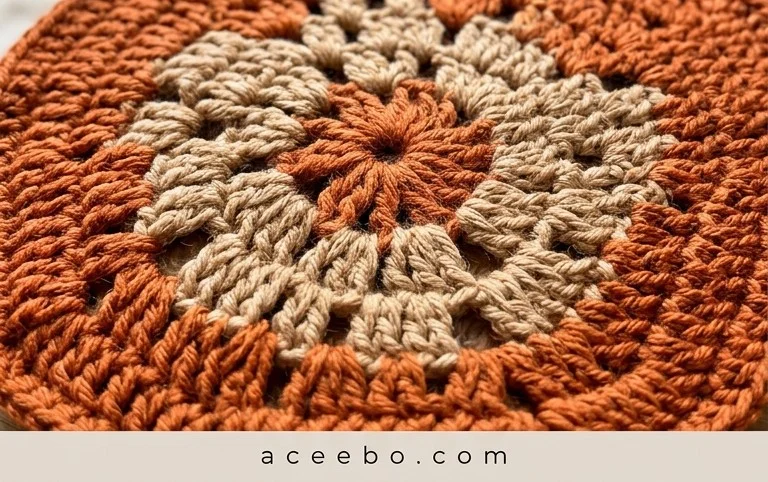
There you have it! These cute granny square pumpkins are an absolute joy to crochet and will add a touch of handmade charm to your autumn décor. Whether you’re a seasoned crocheter or just starting out, this pattern is designed for fun and rewarding results. Give them a try – you won’t be able to stop at just one!
Once your adorable pumpkins are complete, we’d love to see them! Share your creations on social media using #CuteGrannyPumpkins so we can all admire your handiwork. Feel free to get creative with different yarn colors for a unique twist, or even add a stem made from a twisted pipe cleaner. And if you enjoyed making these festive pumpkins, be sure to explore our other crochet patterns for more seasonal inspiration!